Ultrasonic Testing (UT)
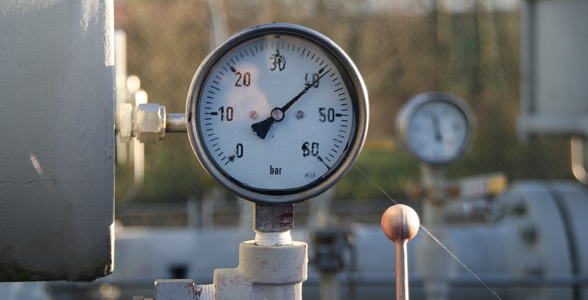
SA-International offer Ultrasonic Testing (UT), both thickness measurement and angle beam methods.
Radigraphic Testing (RT)
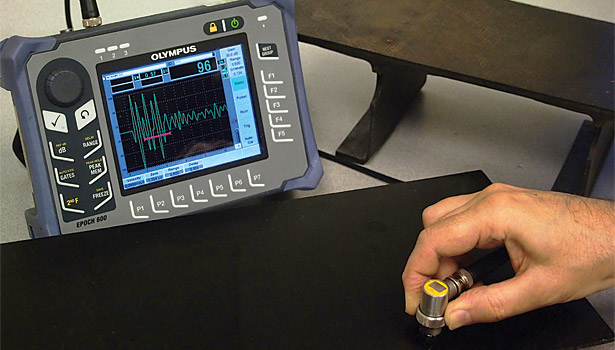
SA-International offer Radiographic Testing (UT), both X-Ray and Gamma Ray.
Visual Testing (VT)
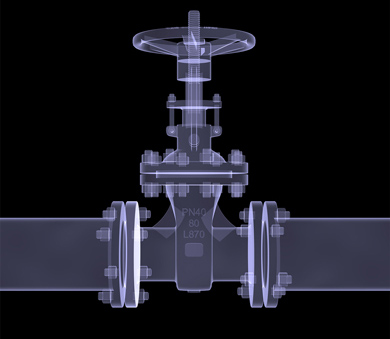
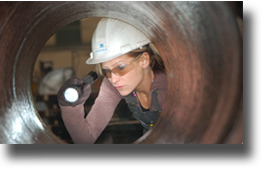
Visual Testing is the most commonly used test method in industry. Because most test methods require that the operator look at the surface of the part being inspected, visual inspection is inherent in most of the other test methods. As the name implies, VT involves the visual observation of the surface of a test object to evaluate the presence of surface discontinuities. VT inspections may be by Direct Viewing, using line-of sight vision, or may be enhanced with the use of optical instruments such as magnifying glasses, mirrors, boroscopes, charge-coupled devices (CCDs) and computer-assisted viewing systems (Remote Viewing). Corrosion, misalignment of parts, physical damage and cracks are just some of the discontinuities that may be detected by visual examinations.
Liquid Penetrant Testing (PT)
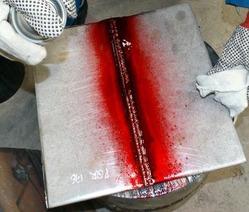
Also called Dye Penetrant Test, it is a low cost method used to locate surface breaking defects in all materials, it is used to scan casting, forging and welding surfaces.
Magnetic Particles Testing (MT)
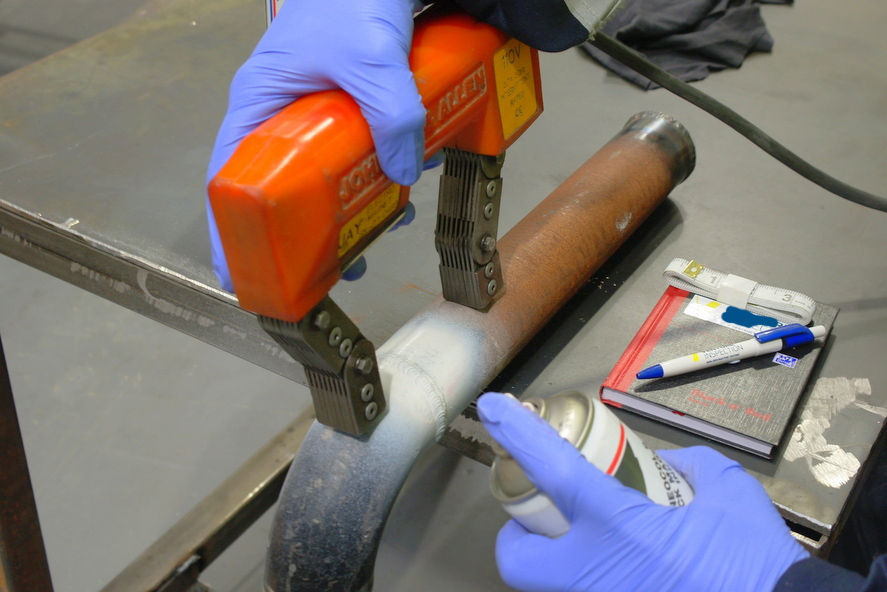
Is a low cost method used to check surface and slightly sub surface discontinuities of ferromagnetic materials.
Eddy Current Testing (ET)
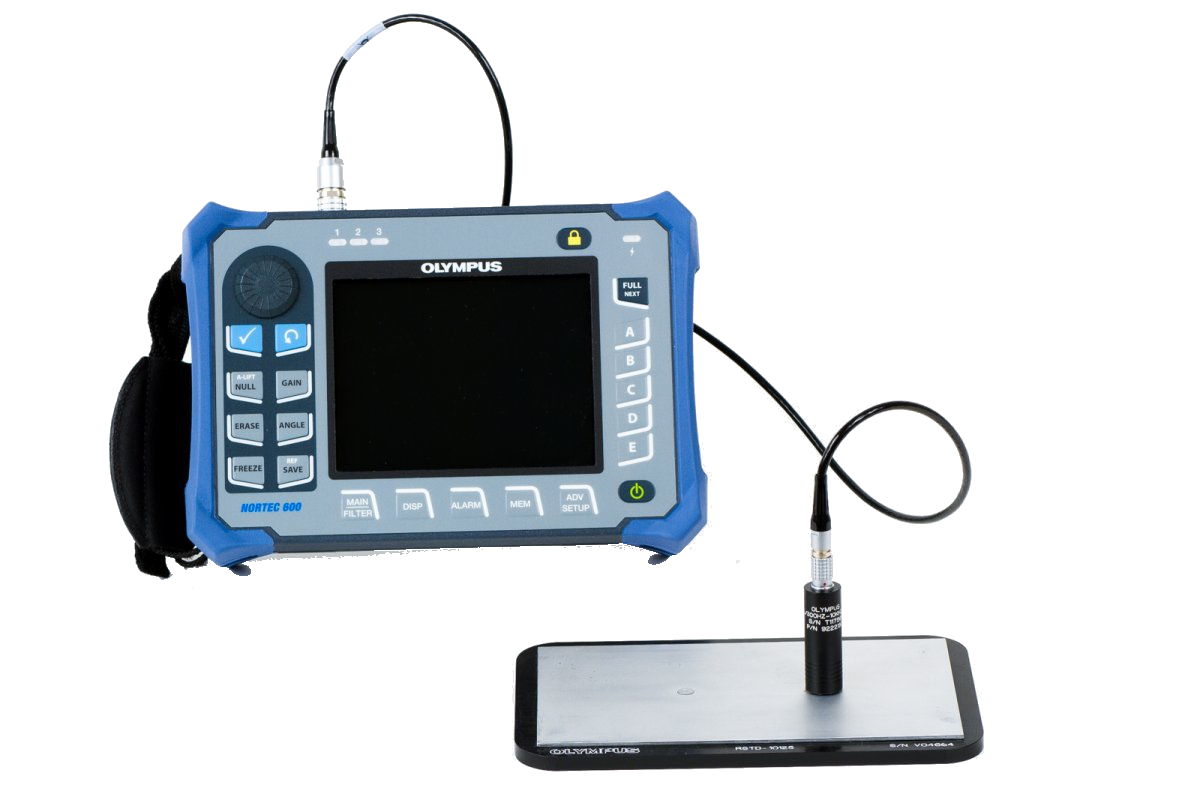
Eddy current testing is widely used in the aerospace industry and in other manufacturing and service environments that require inspection of thin metal for potential safety-related or quality-related problems. In addition to crack detection in metal sheets, eddy current can be used for certain metal thickness measurements such as identifying corrosion under aircraft skin, to measure conductivity and monitor the effects of heat treatment, and to determine the thickness of non conductive coatings over conductive substrates.
Common applications
Weld Inspection:
Many weld inspections employ ultrasonic NDT for subsurface testing and a complimentary eddy current method to scan the surface for open surface cracks on weld caps and in heat affected zones.
Conductivity Testing:
Eddy current testing‘s ability to measure conductivity can be used to identify and sort ferrous and nonferrous alloys, and to verify heat treatment.
Surface Inspection:
Surface cracks in machined parts and metal stock can be readily identified with eddy current. This includes inspection of the area around fasteners in aircraft and other critical applications.
Corrosion Detection:
Eddy current instruments can be used to detect and quantify corrosion on the inside of thin metal such as aluminum aircraft skin. Low frequency probes can be used to locate corrosion on second and third layers of metal that cannot be inspected ultrasonically.
Bolt Hole Inspection:
Cracking inside bolt holes can be detected using bolt hole probes, often with automated rotary scanners.
Vacuum Box Testing
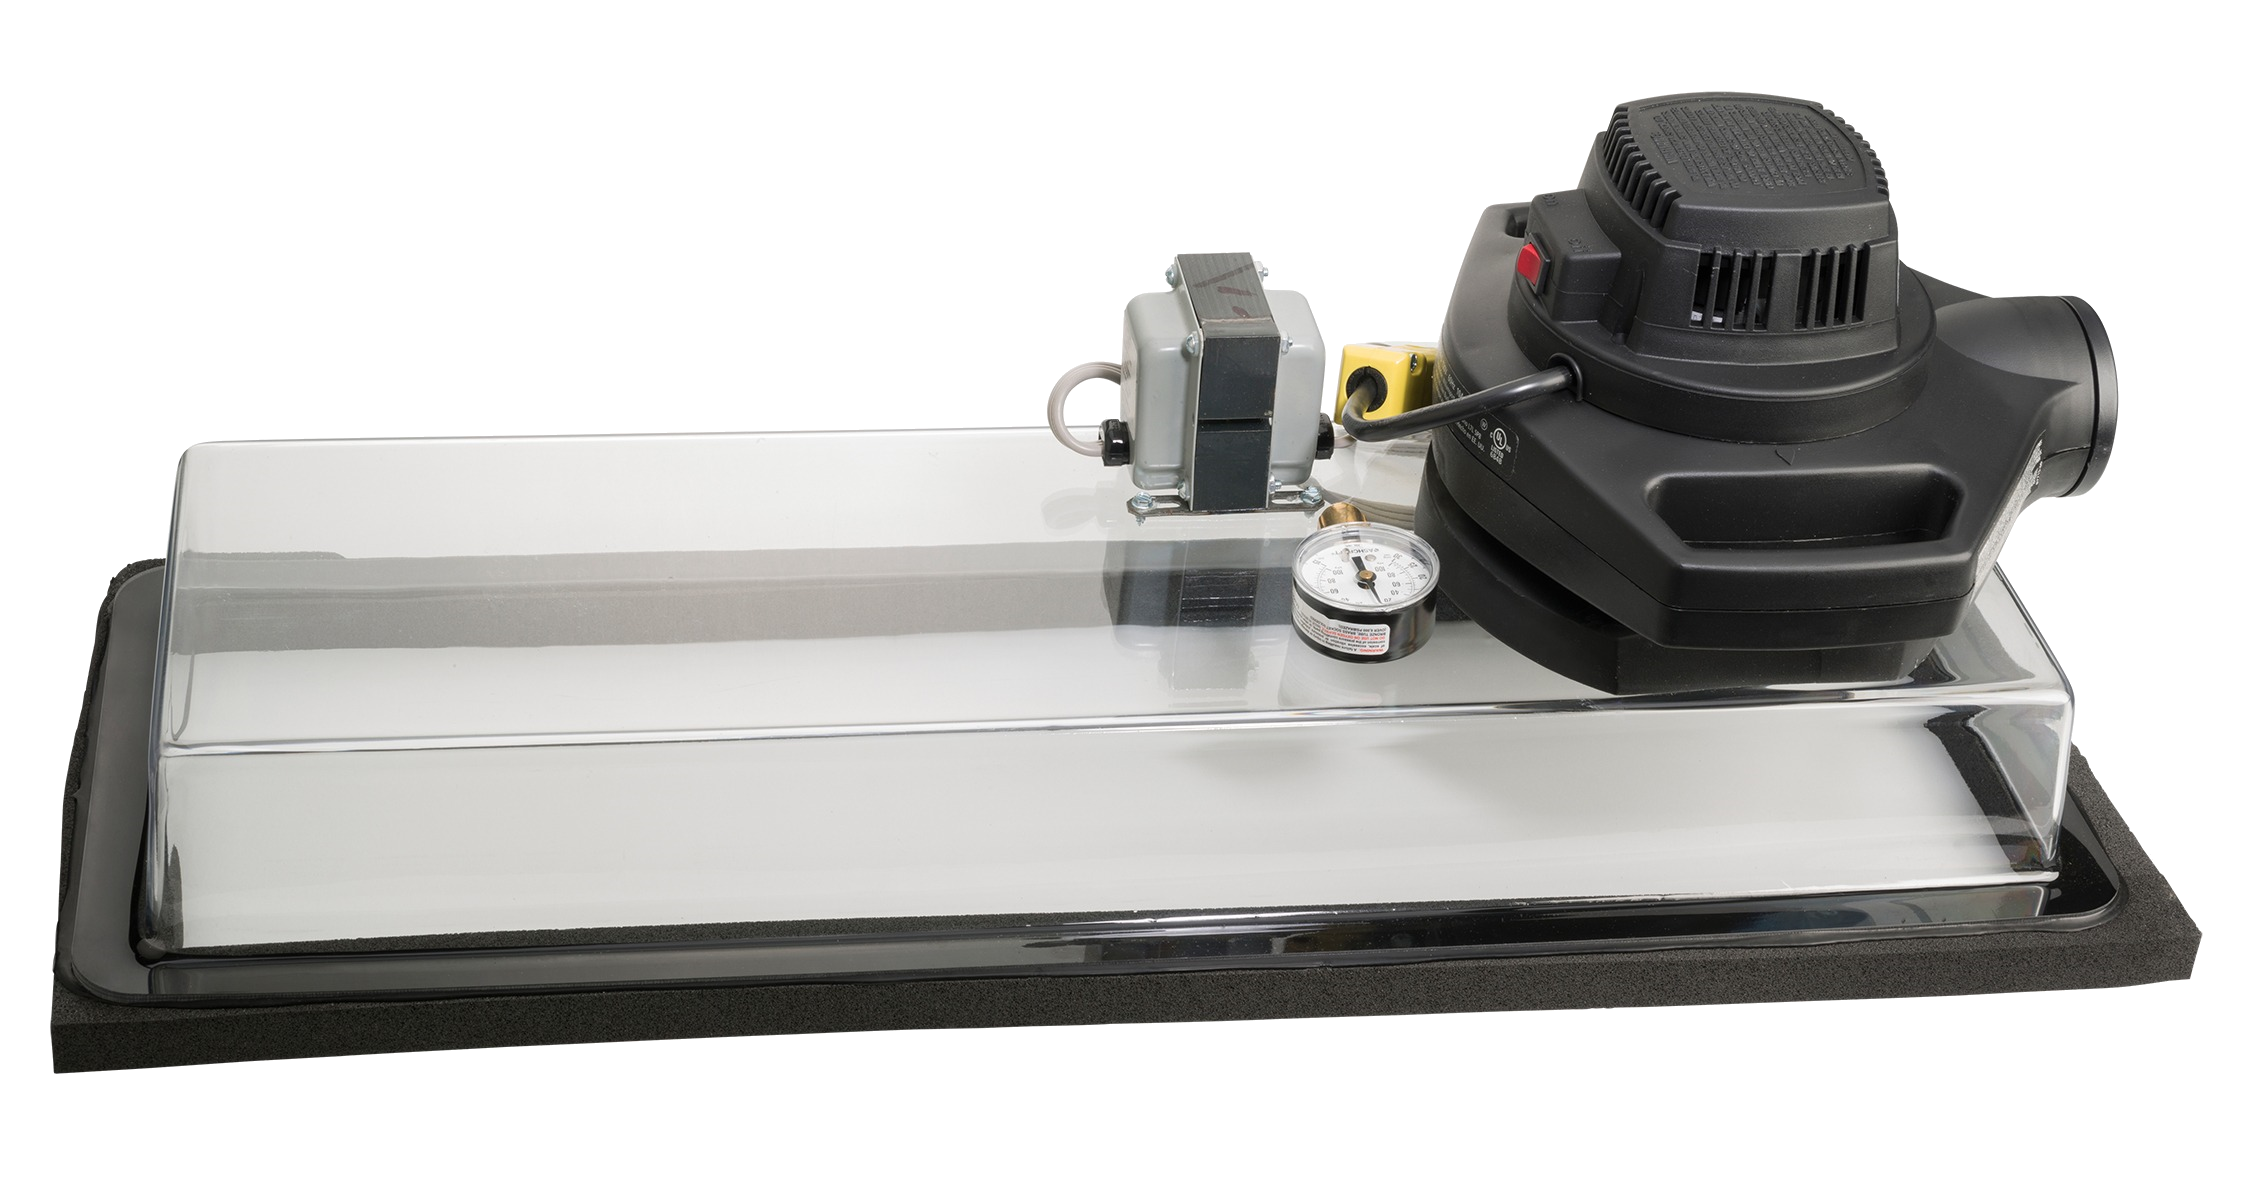
Is an integral part of tank inspection process as recommended by API and other international standards to evaluate the condition of a tank bottom plate weld or shell to bottom plate weld.
Positive Material Identification (PMI)
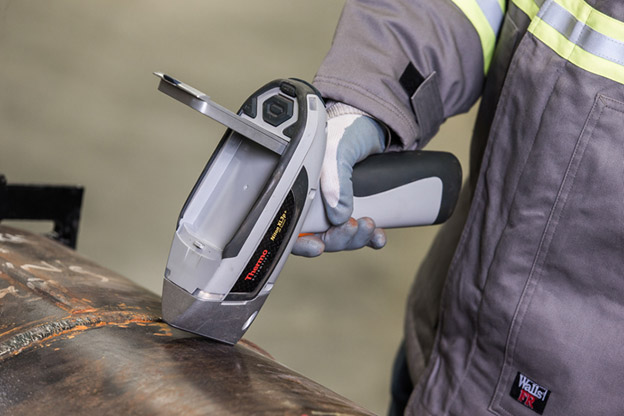
Also known as X-Ray Fluorescence Testing. Provides alloy chemistry and grade ID information instantly using a handheld analyzer without damage the sample. It is also used to ensure that the parent material in vessels and pipe spools is composed of the correct composition. Once the component is welded it is used also to ensure that the correct filler material was used.
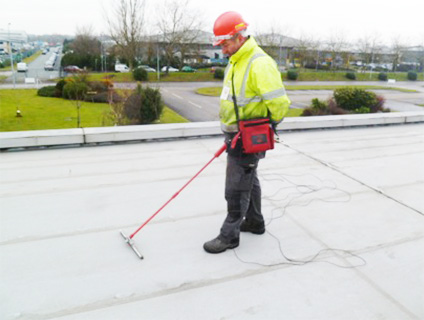
Holiday Detector for Coating Testing
Holiday Test or Continuity Test is one of the Non Destructive Test methods applied on protective coatings to detect unacceptable discontinuities such as pinholes and voids. The test involves checking of an electric circuit to see if current flows to complete the electrical circuit.
A Holiday Test or Continuity Test is performed by applying low voltage (connected in series with a LED or noise-producing component such as a piezoelectric speaker) across the chosen path. If the electrical flow is detected then the test area is termed as conductive indicating presence of such as pinholes and voids.
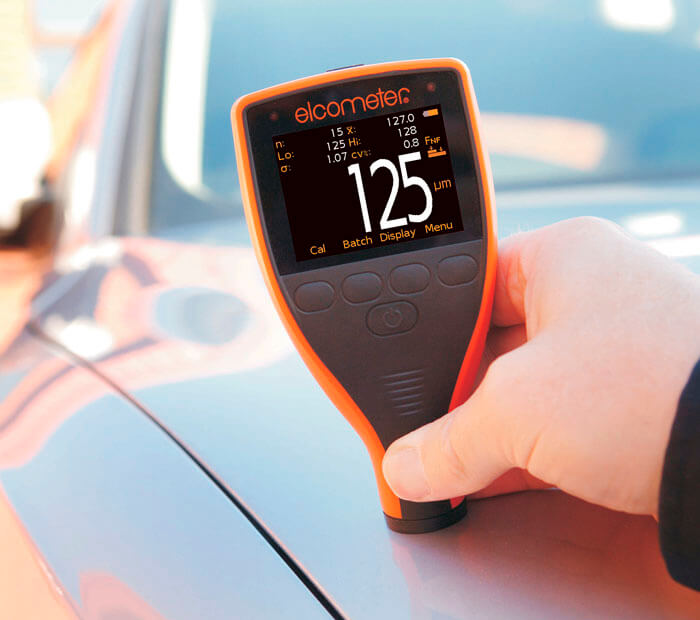
Dry Film Thickness
Dry Film Thickness is probably the most critical measurement in the coatings industry. It provides vital information as to the expected life of the substrate, the product’s fitness for purpose, its appearance and ensures compliance with a host of International Standards.
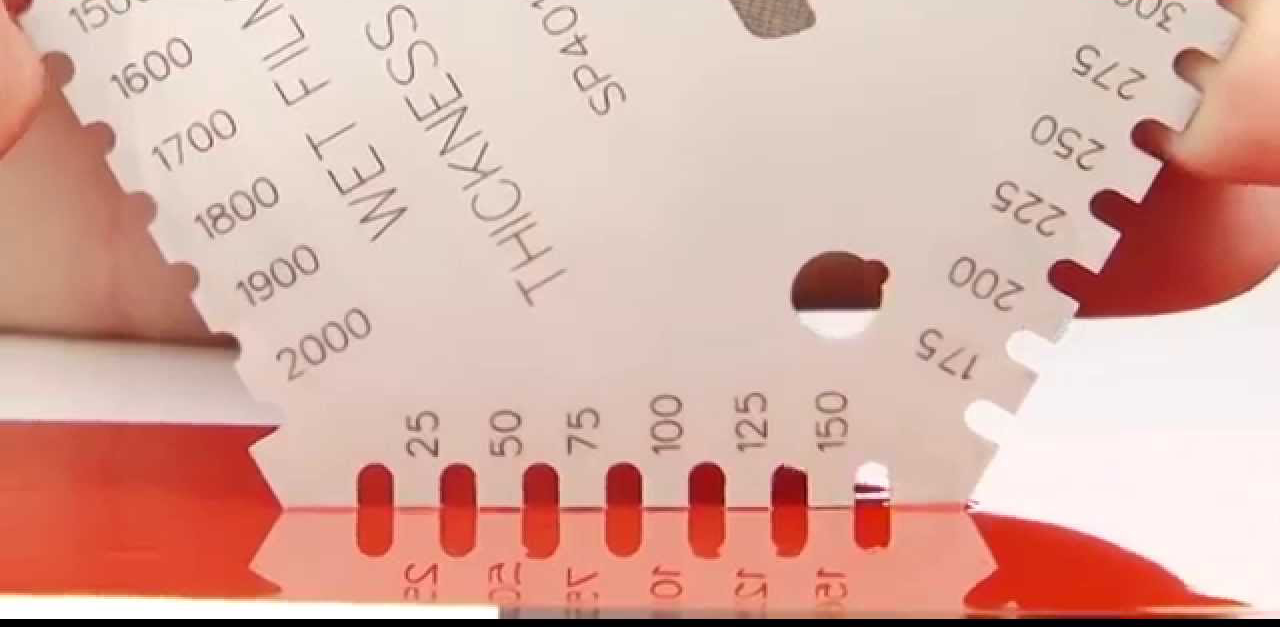
Wet Film Thickness
Gauges designed to quickly and easily measure the thickness of coatings immediately after they have been applied to a substrate. These gauges are also commonly known as: Combs, MIL Gauges, Step Gauges and Notched Gauges. The gauges incorporate a series of notches cut into their sides much like the teeth on a comb. The wet film thickness of most organic coatings including paints, resins, lacquers, varnishes, gel coat, etc. may be measured. The thickness of powder type coatings may also be measured before curing.
Pull off Adhesion Test
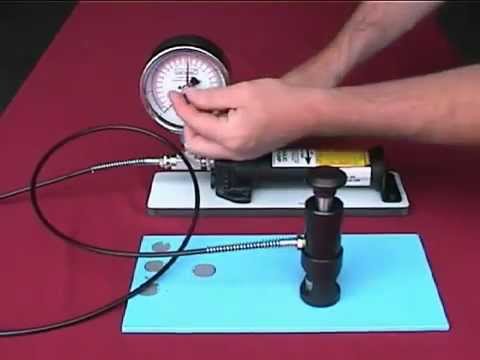
A test dolly is bonded to the coating using an adhesive. The adhesion tester houses a spring arrangement which applies a lift force to the dolly as the tension is increased.
When the coating is pulled off the surface, an indicator on the scale shows the numerical value of adhesion strength expressed in terms of the force per unit area required to remove the dolly.
Inspection of the dolly face is required to determine the failure mode.
Salt Contamination Metering
Salt contamination on metals and other surfaces has been shown to cause millions of pounds worth of corrosion and coating damage worldwide. Undetected and invisible contamination leads to:
- Premature corrosion-induced failure of plant items (stress corrosion cracking, crevice corrosion etc.)
- Early failure of paints and coatings due to loss of adhesion
- Interference with operating processes
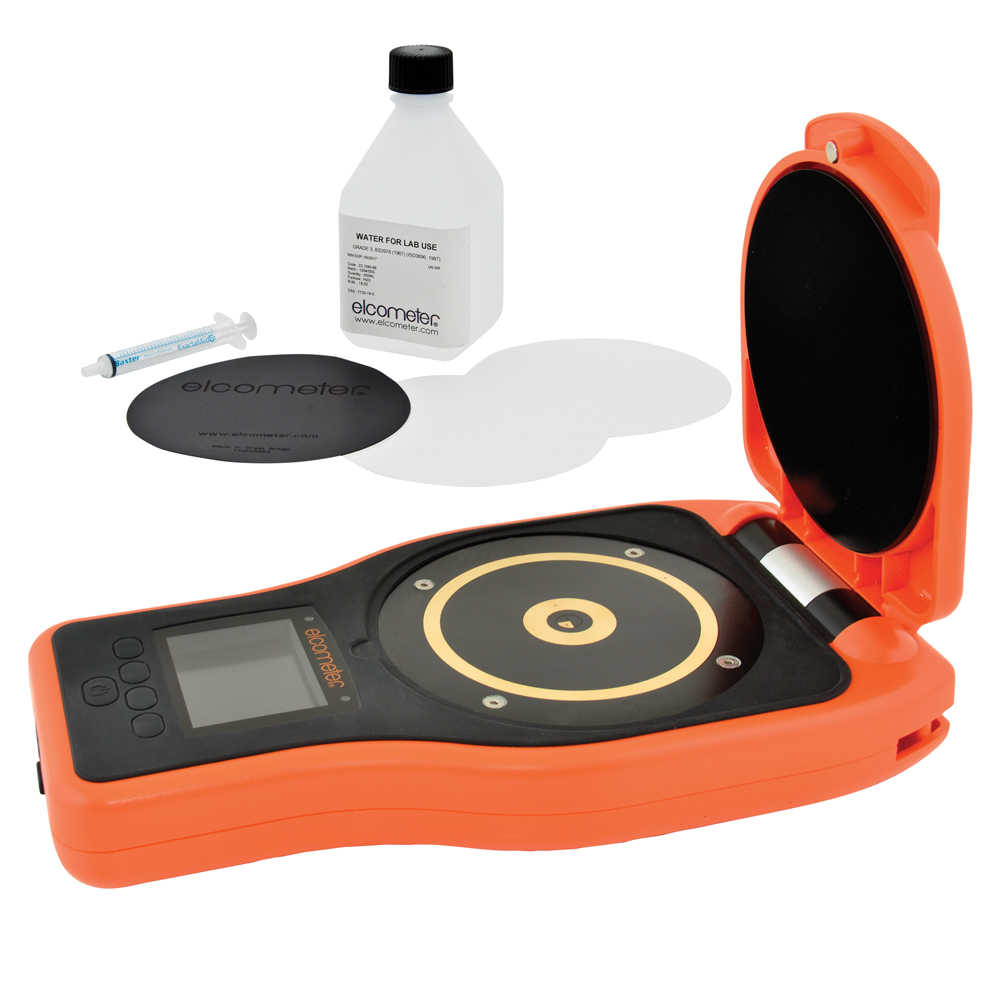
Salt Contamination Metering confirms adequate cleaning of surfaces before coating, aiding the prevention of premature coating failures. It shows salt build-up on vulnerable surfaces which can be treated to increase the lifetime of coatings.
Using the Salt Contamination Meter is easy. A high purity sample paper is wetted with a pure water sample and placed onto the surface being sampled for a short period of time by the meter. Soluble salts on the surface are absorbed by the paper which is then placed in the Salt Contamination Meter for an instant analysis. A direct readout of the surface salt contamination levels is given in microgrammes per square centimetre (µg/cm²).
Portable Leeb Hardness Testing
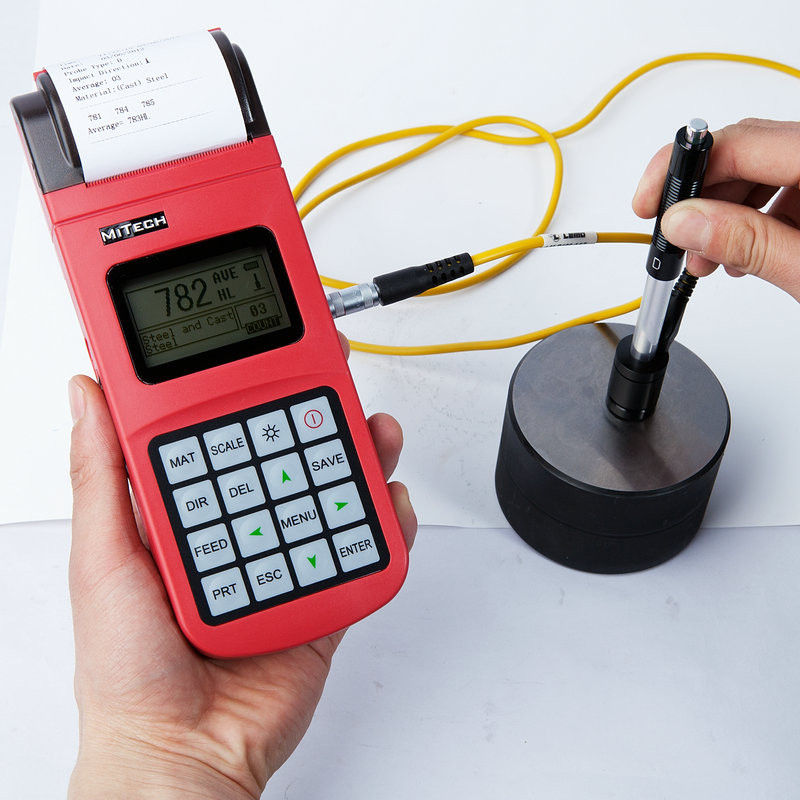
The Leeb Rebound Hardness Test is one of the most used methods for testing metal hardness. This portable method is mainly used for testing sufficiently large work pieces (mainly above 1 kg), It measures the coefficient of restitution.
Hardness value is derived from the energy loss of a defined impact body after impacting on a metal sample.
Ultrasonic Contact Impedance (UCI) Hardness Test
Also known as Modified Vickers Test.
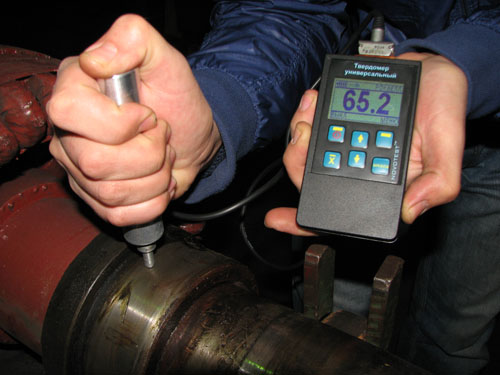
UCI testers are portable electronic devices that use a spring to apply a known force to a Vickers diamond indenter which is attached to the end of a resonating rod. As the resonating rod and Vickers diamond pyramid indenter penetrate the test sample the resultant indentation creates a clamping force to the tip of the indenter that is proportional to its size and causes a frequency shift to the rod. The amount of the frequency shift is measured and related to the size of the Vickers indentation. Results are converted to hardness scales such as Vickers and Rockwell and Brinell.
Test samples must be smooth in relation to the indentation size and scale and other interfering coatings removed.
When testing materials other than steel, calibration to “secondary” standards made from the specific type of material to be tested is advised.
Advantages of the UCI test method
- Measures only surface hardness
- Highly portable
- Test in any direction
- Can measure the hardness of a coating, plating or case hardened surface
- Small indentation is virtually nondestructive
- Small probe can access the heat affected zones of welds, gear teeth and splines
- UCI testers can be used to measure the hardness of pipe, tanks, etc., with a thickness greater than 1/16” – 1/8” (1.5 mm – 3mm) thick (depending on probe-load and material hardness). Compare to “Dynamic/Rebound” type testers that require a minimum of .4” (10mm)* due to “spring or drum” effect
- Complies with ASTM A1038-05 Standard Practice for Portable Hardness Testing by the Ultrasonic Contact Impedance Method
Remote Visual Inspection/Borescope (RVI)
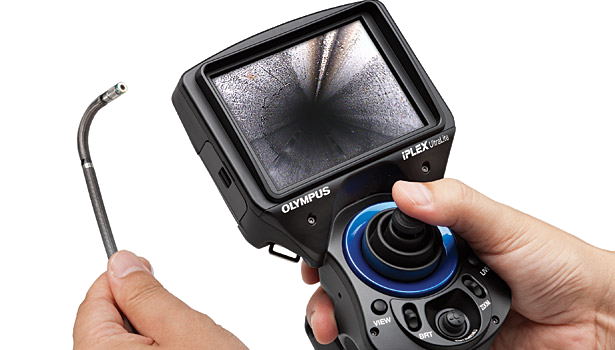
Utilizing CCTV/Remote Visual Inspection tools we can offer solutions for visual inspection of confined spaces or hazardous locations with the use of high-tech video camera systems where human entry is impractical, physically impossible or unsafe. Recording all salient features or defects of the area will enable decisions or adjustments to be carried out promptly.
The international visual inspection services would be beneficial to all companies in the Oil and Gas, Maritime, Petrochemical, Pharmaceutical and Consumer industries as well as companies in the Power Generation and Municipalities.
Re-Calibration of Crude Oil Storage Tank
SA-International provide Tank Calibration according to API: Manual of Petroleum Measurement Standards.

Previous Jobs
| Client | Period | Scope of Work |
|---|---|---|
| Suez Oil Company
Zeit Bay, Red Sea, Egypt |
November, 2015 | Storage Tank Calibration according to API |
Replica Test
Replication is the use of thin plastic films to non destructively duplicate the micro structure of a component. The film is then examined at high magnifications.
Replication is a method of copying the topography of a surface by casting or impressing material onto the surface. It is the commonly used technique to duplicate surfaces that are inaccessible in metrology to other forms of nondestructive testing.
Phased Array Ultrasonic Test (PAUT)
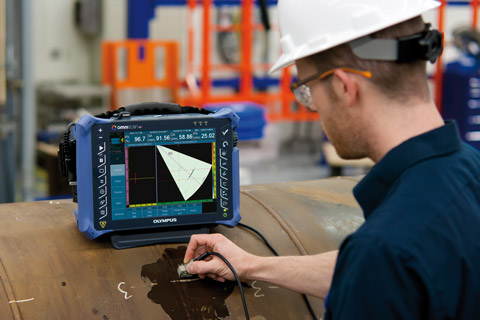
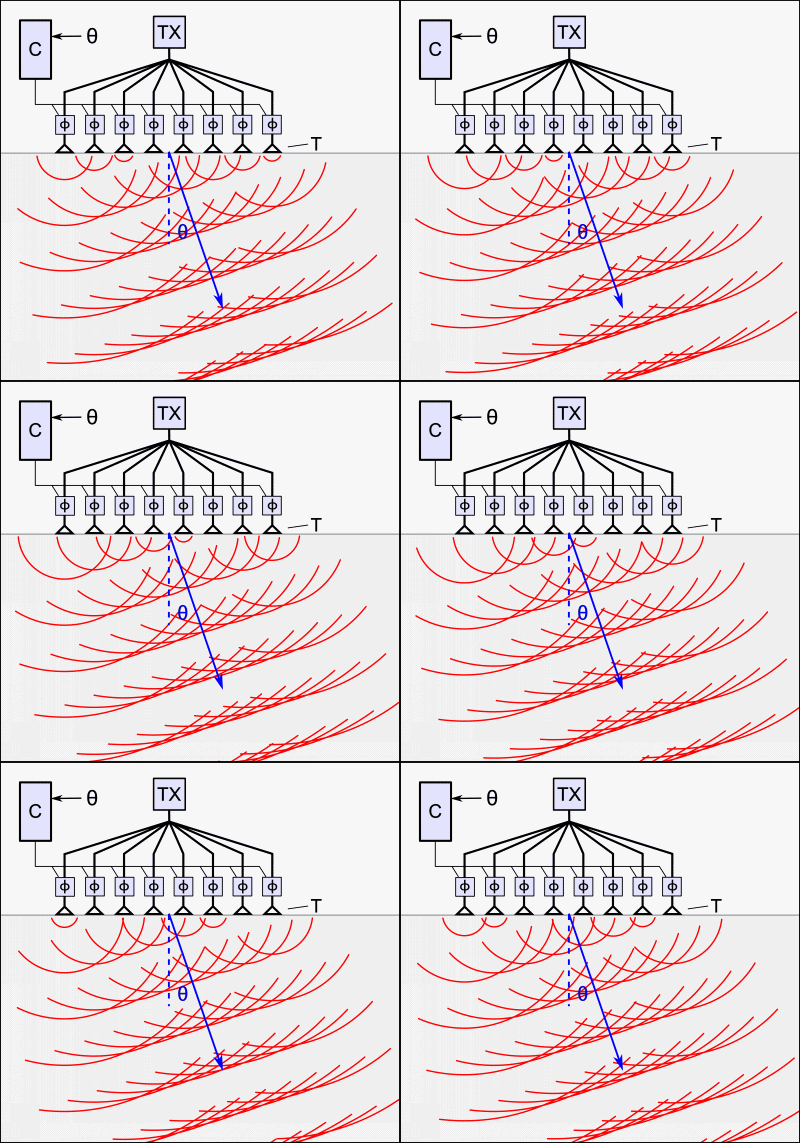
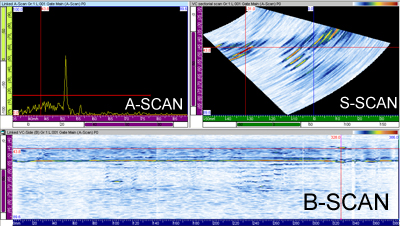
Phased array (PA) is an advanced method of ultrasonic testing that used to find flaws in manufactured materials such as welds. Single-element (non-phased array) probes, known technically as monolithic probes, emit a beam in a fixed direction. To test or interrogate a large volume of material, a conventional probe must be physically scanned (moved or turned) to sweep the beam through the area of interest. In contrast, the beam from a phased array probe can be focused and swept electronically without moving the probe. The beam is controllable because a phased array probe is made up of multiple small elements, each of which can be pulsed individually at a computer-calculated timing. The term phased refers to the timing, and the term array refers to the multiple elements.
An array transducer is simply one that contains a number of separate elements in a single housing, and phasing refers to how those elements are sequentially pulsed. A phased array system is normally based around a specialized ultrasonic transducer that contains many individual elements (typically from 16 to 256) that can be pulsed separately in a programmed pattern. These transducers may be used with various types of wedges, in a contact mode, or in immersion testing. Their shape may be square, rectangular, or round, and test frequencies are most commonly in the range from 1 to 10 MHz.
The benefits of phased array technology over conventional UT come from its ability to use multiple elements to steer, focus and scan beams with a single transducer assembly. Beam steering, commonly referred to sectorial scanning, can be used for mapping components at appropriate angles. This can greatly simplify the inspection of components with complex geometry. The small footprint of the transducer and the ability to sweep the beam without moving the probe also aids inspection of such components in situations where there is limited access for mechanical scanning. Sectorial scanning is also typically used for weld inspection. The ability to test welds with multiple angles from a single probe greatly increases the probability of detection of anomalies. Electronic focusing permits optimizing the beam shape and size at the expected defect location, as well as further optimizing probability of detection. The ability to focus at multiple depths also improves the ability for sizing critical defects for volumetric inspections. Focusing can significantly improve signal-to-noise ratio in challenging applications, and electronic scanning across many groups of elements allows for C-Scan images to be produced very rapidly. It also capable of flaw visualization on the display. Phased array can also be effectively used to profile remaining wall thickness in corrosion survey applications.
Time of Flight Diffraction (TOFD)
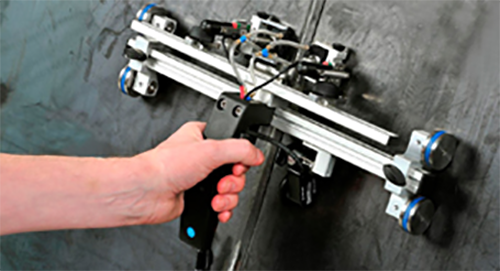
Although time of flight diffraction (TOFD) can be used for a variety of applications, its primary use is rapid weld testing of circumferential and axial weld seams.
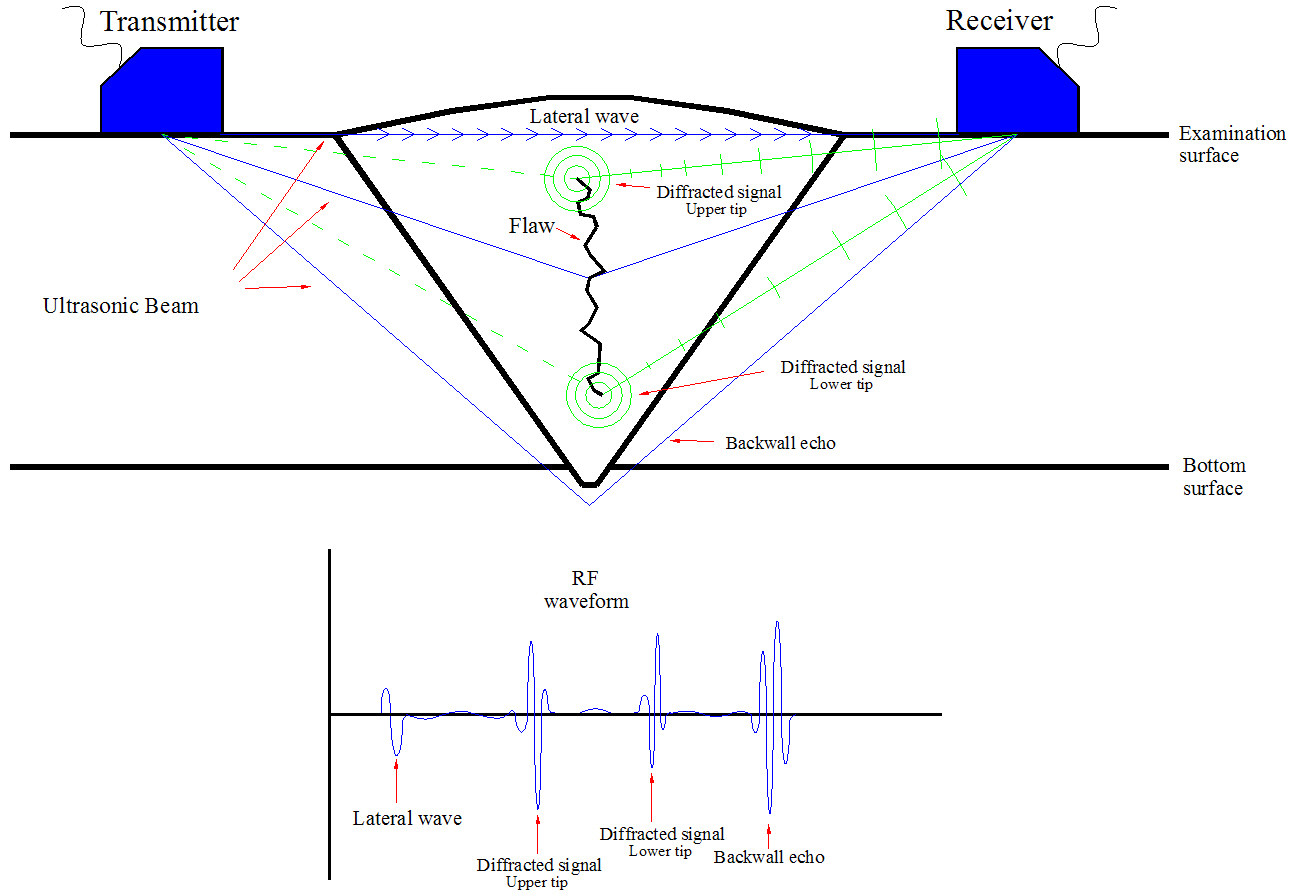
Measuring the amplitude of reflected signal is a relatively unreliable method of sizing defects because the amplitude strongly depends on the orientation of the crack. Instead of amplitude, TOFD uses the time of flight of an ultrasonic pulse to determine the position and size of a reflector.
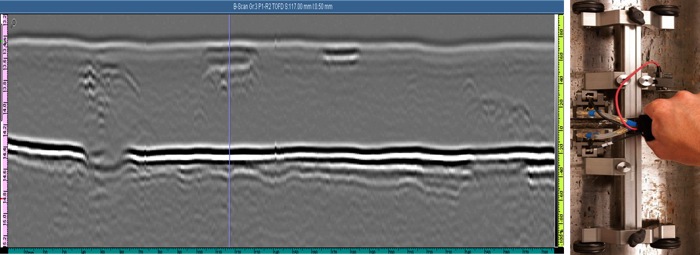
In time-of-flight diffraction (ToFD) systems, a pair of ultrasonic probes are used, sitting on opposite sides of a weld-joint or area of interest. A transmitter probe emits an ultrasonic pulse which is picked up by the receiver probe on the opposite side. In an undamaged part, the signals picked up by the receiver probe are from two waves: one that travels along the surface (lateral wave) and one that reflects off the far wall (back-wall reflection). When a discontinuity such as a crack is present, there is a diffraction of the ultrasonic sound wave from the top and bottom tips of the crack. Using the measured time of flight of the pulse, the depth of the crack tips can be calculated automatically by trigonometry application. This method is even more reliable than traditional radiographic, pulse echo manual UT and automated UT weld testing methods. A-scans are collected and used to create B-scan (side view) images of the weld.
Main Benefits of TOFD for Weld Inspection:
- Speed of detecting discontinuities
- Accurate positioning and sizing of discontinuities
- Reproducibility and accuracy is proven <0.5mm
- Permanent digital records with graphic images
- Detection is independent of type and orientation of discontinuities
- Compliant to ASME Code Case 2235
- Consistent results between pre- and post-heat treatment
- Consistent results between pre- and in-service inspection
- Accurate methods available for measuring the growth of discontinuities
- Offers a higher probability of detection
- Data is collected in B-scan or D-scan format to improve the detection of discontinuities
- Planar discontinuities, which are not perpendicular to measured surfaces can be detected
- Higher POD which means, improving risk reduction and calculation
- No evacuation of areas during operation because no radiation is used
- Inspection results are immediately available
- Inspection can be performed above 200° C
- Highly sensitive to all weld flaw types
Small Controlled Area Radiography (SCAR)
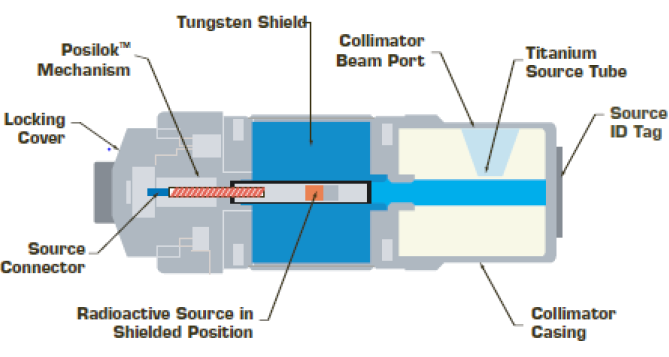
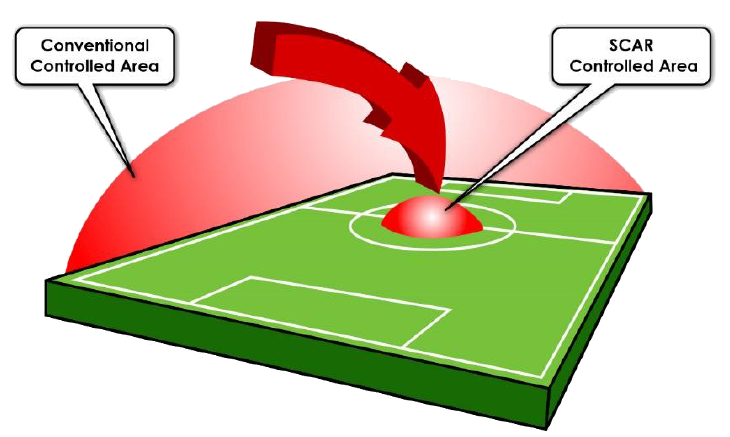
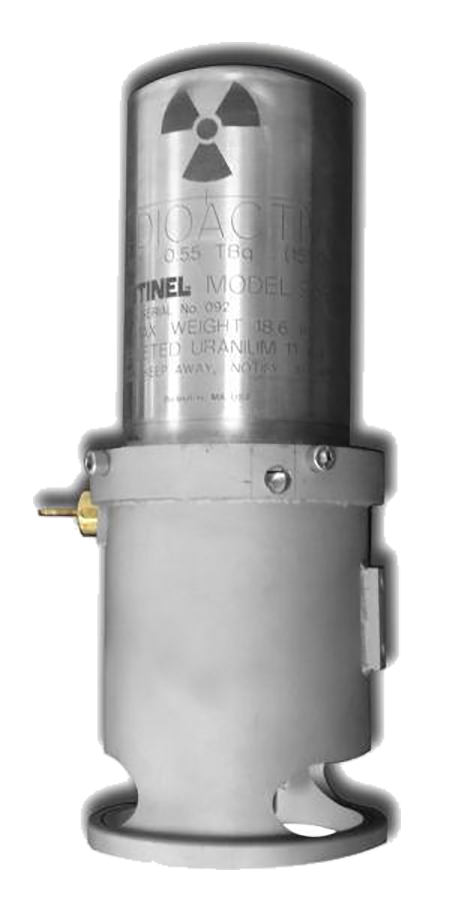
Objective of Small Controlled Area Radiography (SCAR) system is used in open field radiography using special projectors with Selenium 75 source and controlled beam collimators and Radshield as additional shielding mat to bring down the radiation levels below 0.2 mR/hr at 5 meter. SCAR system can be used at construction sites without hindering contractor’s other work 24×7. It also can be used during shutdown and on rig.
Main Benefits of SCAR System:
- Safety improvements Allows for 24 Hour radiography and continuous construction work
- More production time with no down time
- Allows instant welder performance monitoring
- Highly directional beam
- Reduces radiation dose
- Detects corrosion under insulation (CUI)
Computed Radiography (CR)
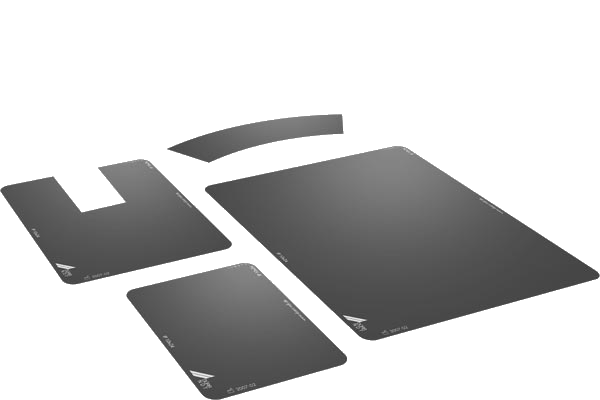
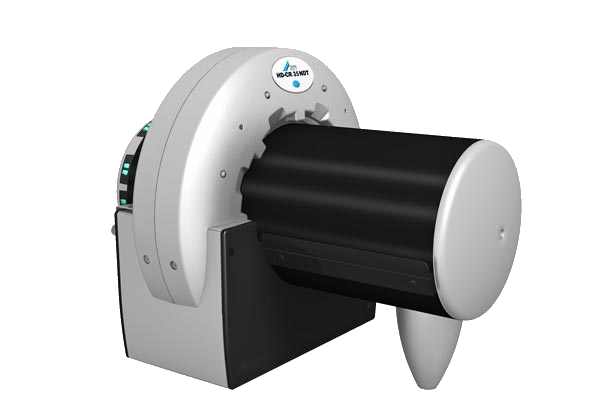
Computed Radiography (CR) is the production of a digital image by using a Phosphor Imaging Plate (IP) in place of conventional film.
The Imaging (storage) Plate (IP) is exposed with X-ray or Gamma radiation, which causes the IP phosphor layer in the plate to store the image.
During the reading process of the plate in the scanner, a focused laser beam triggers the release of the stored image data in the form of visible light.
The emitted light is detected, captured and converted into electrical signals which are digitized and finally displayed as a digital image on the PC monitor.
The internal in-line eraser purges the residual data from the IP, which is then ready for the next exposure.
With film radiography the only variable is the film, with CR we have different IP’s and the ability to adjust multiple scanner parameters to suit the required inspection task and optimize the image quality.
The CR device gives the user the choice to select a 20 μm scan resolution for weld inspection or 100 μm scan resolution for a CUI application where speed and a short exposure really are the prime requirements. The stepless scan resolution ensures that the correct settings can be set to suit the application and inspection needs.
Advantages:
- No dark room or chemicals required
- Exposure and process times reduced
- Easy work flow and image optimization
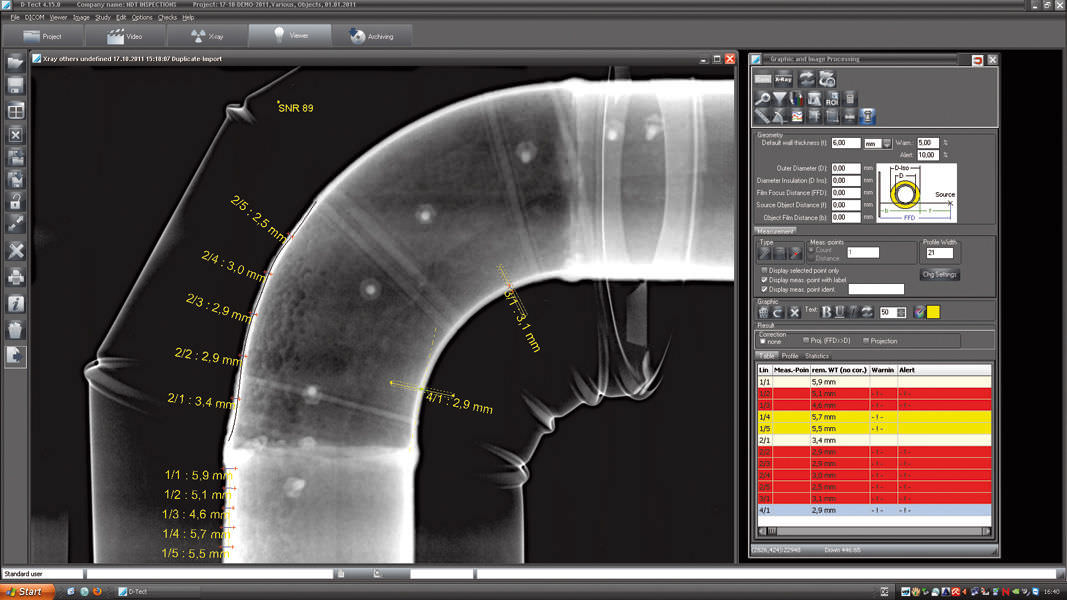
- All functions from image acquisition, analysis and related report generation, to export, archiving and database management are included
- Automatic measurement tool of wall thickness
- Detect smallest defect
- Easy to use and versatile reporting functions
Digital Radiography (DR)
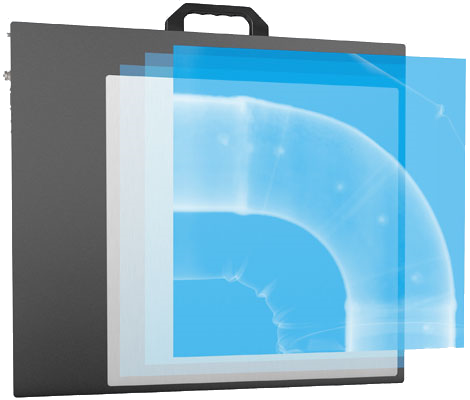
Is a form of X-ray imaging, where digital X-ray sensors are used instead of traditional photographic film. Advantages include time efficiency through bypassing chemical processing and the ability to digitally transfer and enhance images. Also, less radiation can be used to produce an image of similar contrast to conventional radiography.
Instead of X-ray film, digital radiography uses a digital image capture device. This gives advantages of immediate image preview and availability; elimination of costly film processing steps; a wider dynamic range, which makes it more forgiving for over- and under-exposure; as well as the ability to apply special image processing techniques that enhance overall display quality of the image.
Vibration Test, Analysis and Balancing
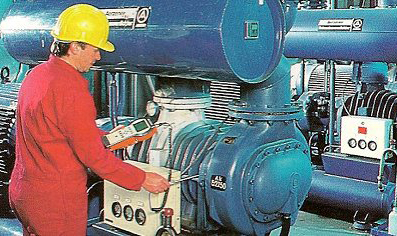
Vibration analysis is very essential for predictive machine maintenance, Prevention of unscheduled production stoppages, Limitation of machine damage by early fault diagnosis, the prerequisite for this is continuous knowledge of the “current” machine condition during operation. Mechanical
vibrations, bearing condition values, speeds and process values are authoritative indicators with which the machine condition can be assessed
and faults diagnosed. Which characteristic parameters should be acquired and how often, depends not only on the complexity and absolute value of
the machines, but also on the criticality of the machines for the production process.
Alternating Current Field Measurement (ACFM)
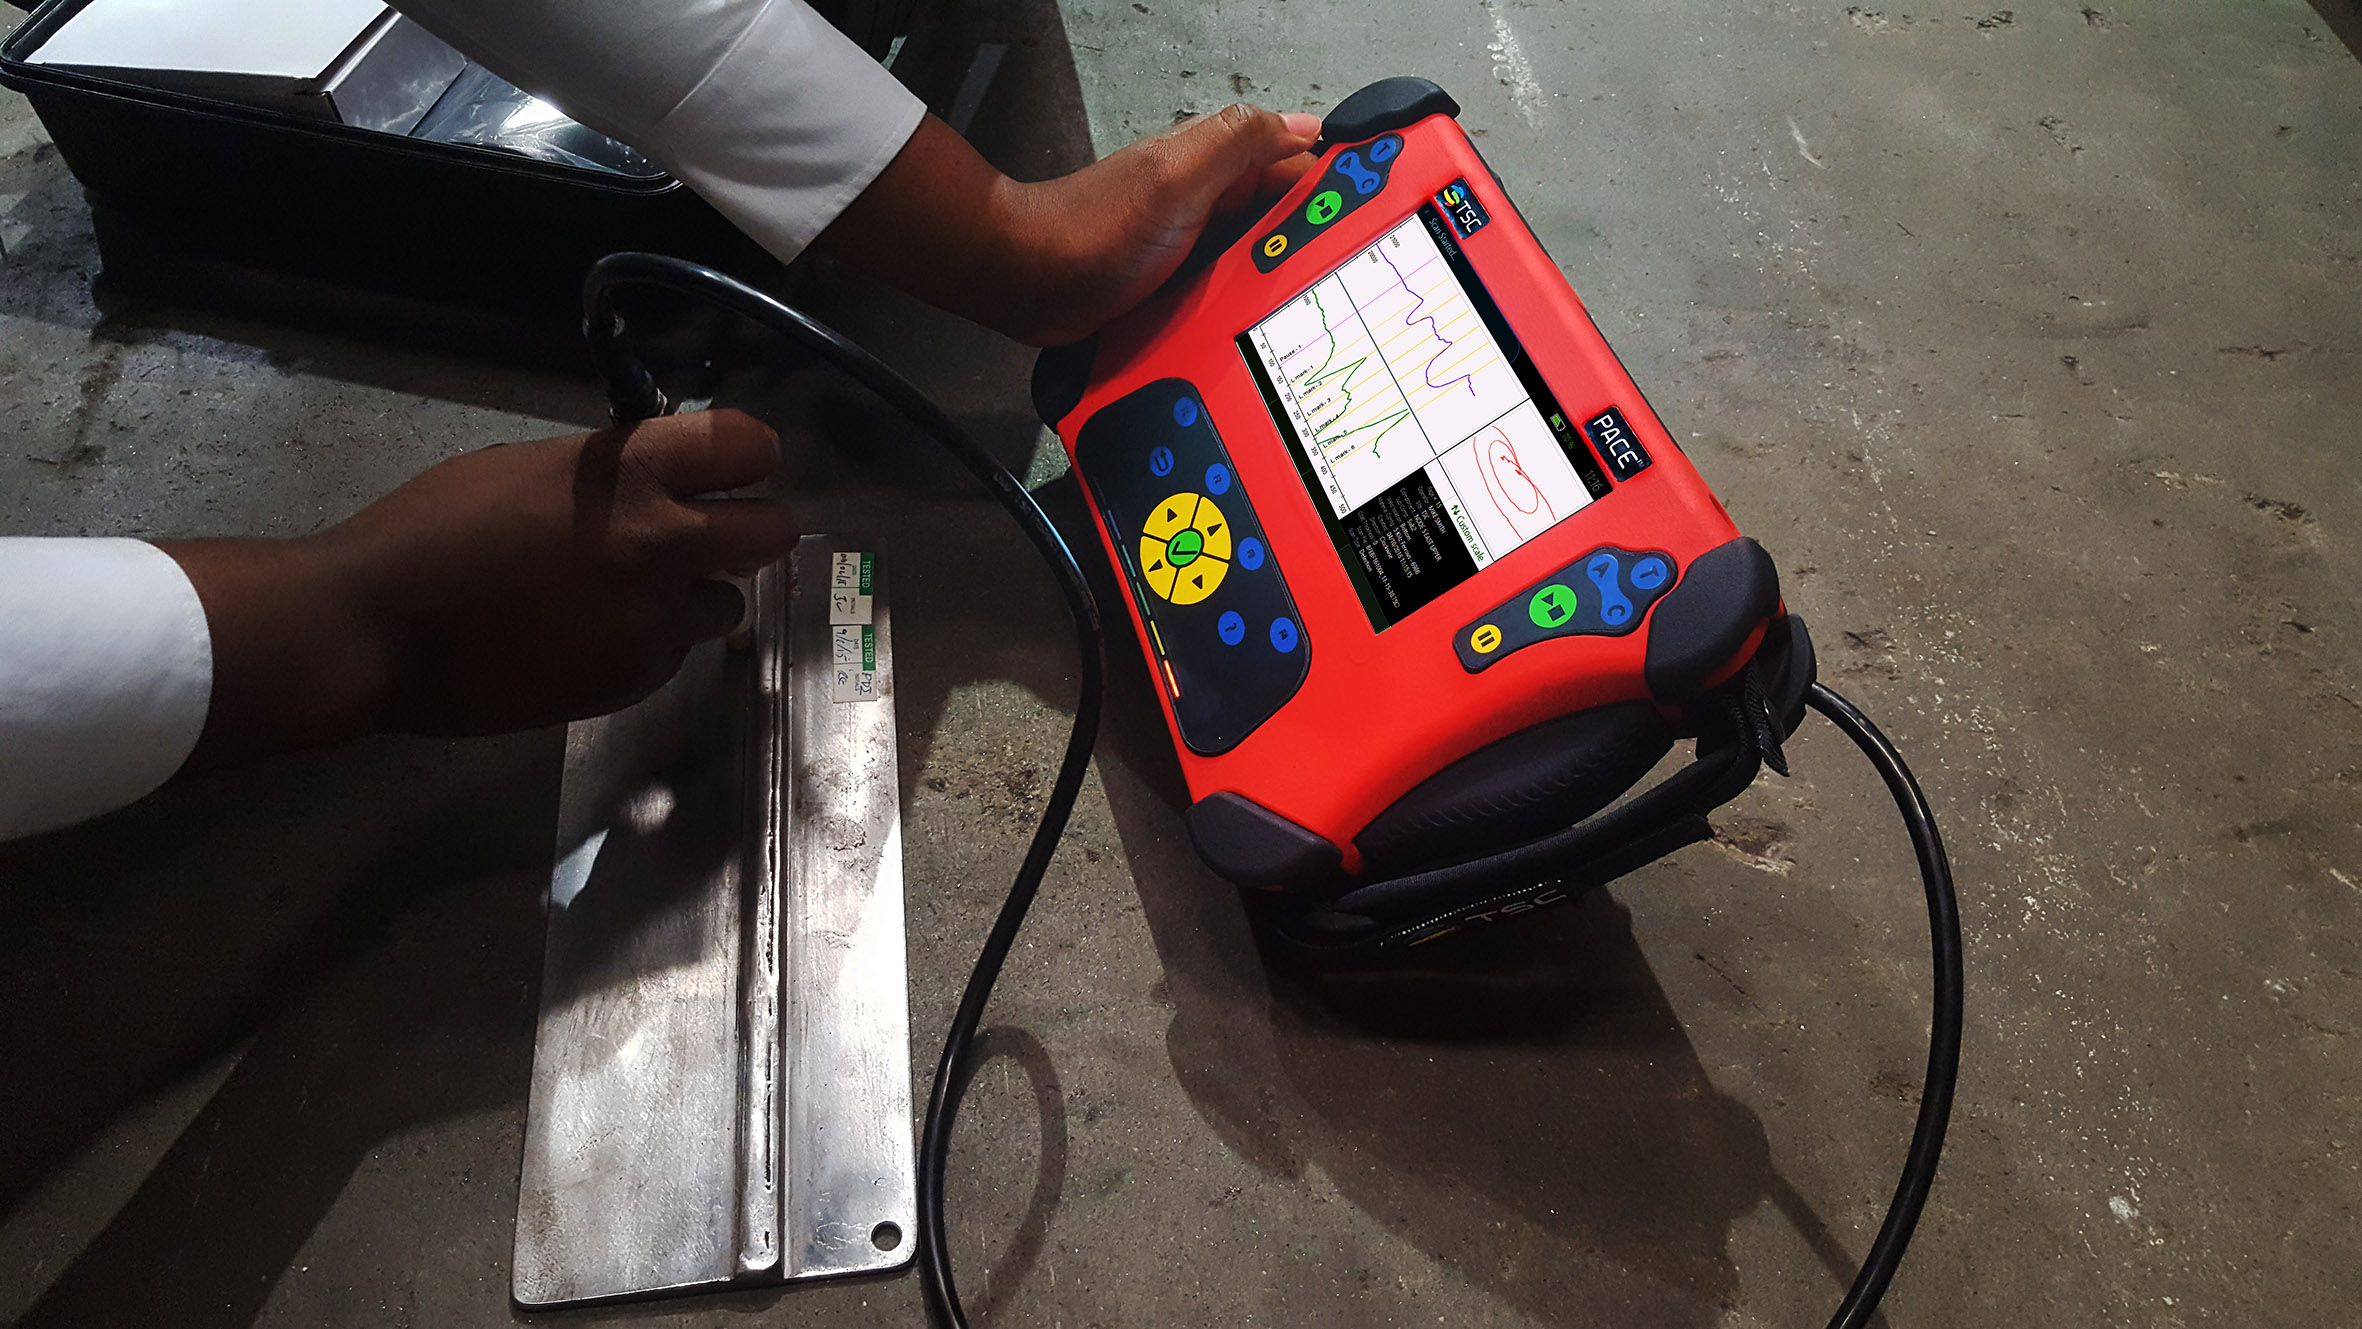
Alternating Current Field Measurement (ACFM) is an electromagnetic technique for non-destructive testing detection and sizing of surface breaking cracks. It was derived from the methods used in eddy-current testing and works on all metals, ferrous or non-ferrous. Since it doesn’t require direct electrical contact with the surface it can work through coatings such as paint or rust.
The ACFM probe induces a uniform alternating current in the area under test and detects magnetic field of the resulting current near the surface.
This current is undisturbed if the area is defect free. A crack redirects the current around the ends and faces of the crack. The ACFM instrument measures these disturbances in the field and uses mathematical modelling to estimate crack size. The lateral and vertical components of the magnetic field are analyzed; disturbances indicate a crack is present, and the size and depth of the crack can be calculated.
Advantages:
- Applicable for base material or welds, ferritic or non-ferritic conductive metals
- Can be used on hot surfaces, underwater, or in irradiated environments
- Provides both depth and length information
- Accurate sizing of defects up to 25mm in depth
- Requires minimal surface preparation and can be applied over paint and other coatings
- Applicable for under water inspection as well as normal inspection
- Inspection data can be stored and analysed offline
- Inspection can be encoded
Applications:
- Detection of surface defects like: inclusion, pinholes, cavity, blowholes. fatigue cracks.
- Detection of welding defects.
- Detection of surface grinding cracks.
- Detection of cold cracking.
- Detection of penetration or joining lack.
Ultrasonic Flow Metering
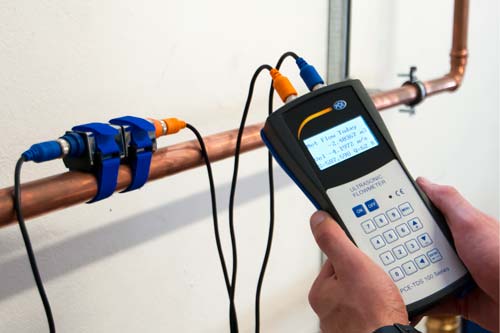
Is a type of flow meter that measures the velocity of a fluid with ultrasound to calculate volume flow. Using ultrasonic transducers, the flow meter can measure the average velocity along the path of an emitted beam of ultrasound, by averaging the difference in measured transit time between the pulses of ultrasound propagating into and against the direction of the flow or by measuring the frequency shift from the Doppler effect.
Ultrasonic Leak Detection
HydroStatic Pressure Test
A hydrostatic test is a way in which pressure vessels such as pipelines, plumbing, gas cylinders, boilers and fuel tanks can be tested for strength and leaks.
